To start working with tests, go to Test Management > Test Library. From here, you can access various types of operations which you can perform with a test of your choice.
Add Test
To create a test, click Add New on the Test Library screen.
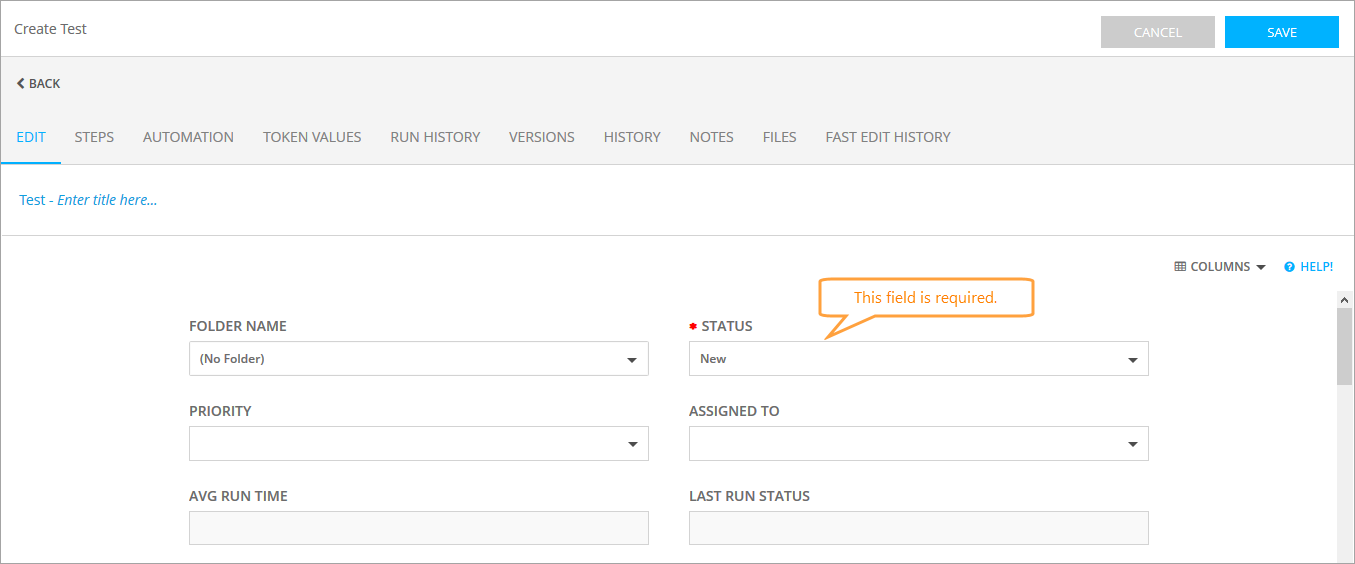
On the subsequent Create Test form, provide the necessary information about a new test.
| Tip: | The required fields are marked with a red asterisk (*). |
To learn more about each field, see Tests Reference.
Use the other tabs to provide the users who will work on this test with additional information (see below).
Once your test is ready, click Save to apply the changes you have made.
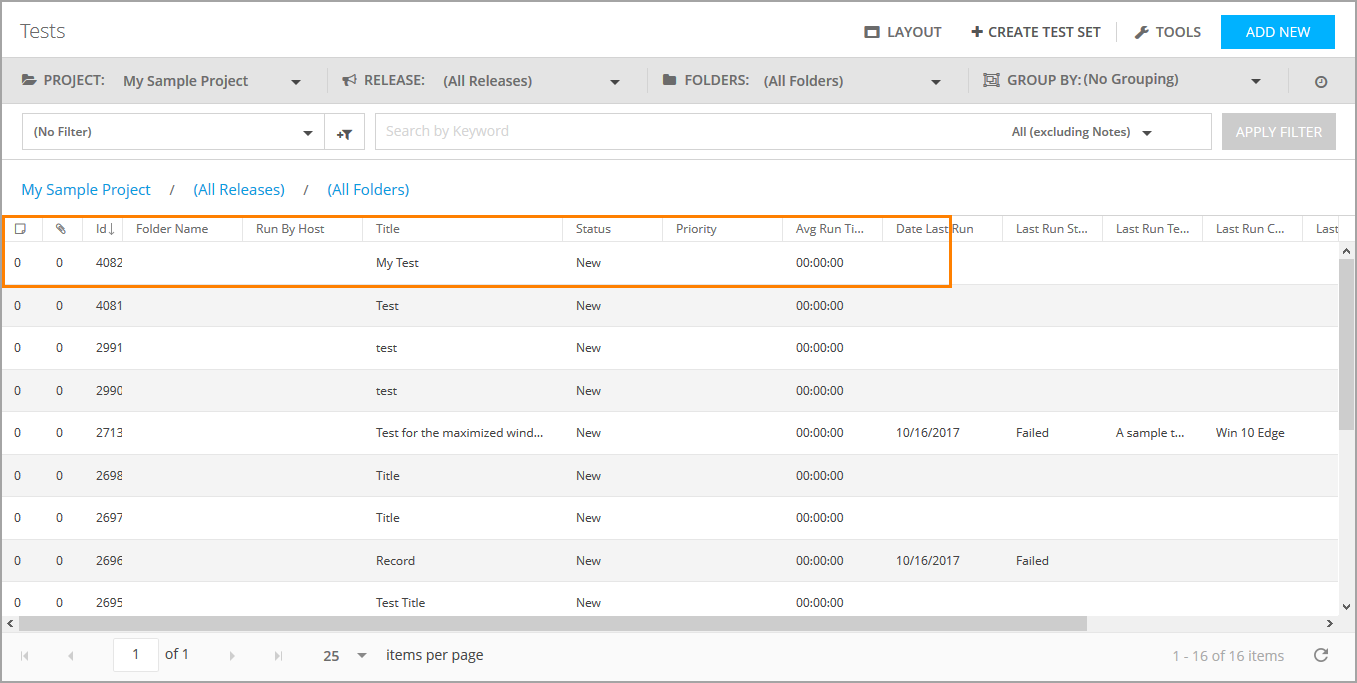
The new test will appear on the Test Library screen.
Edit Test Steps
On the Steps tab of the Create Test and Edit Test forms, you can add each step and the result you expect to achieve within the test.
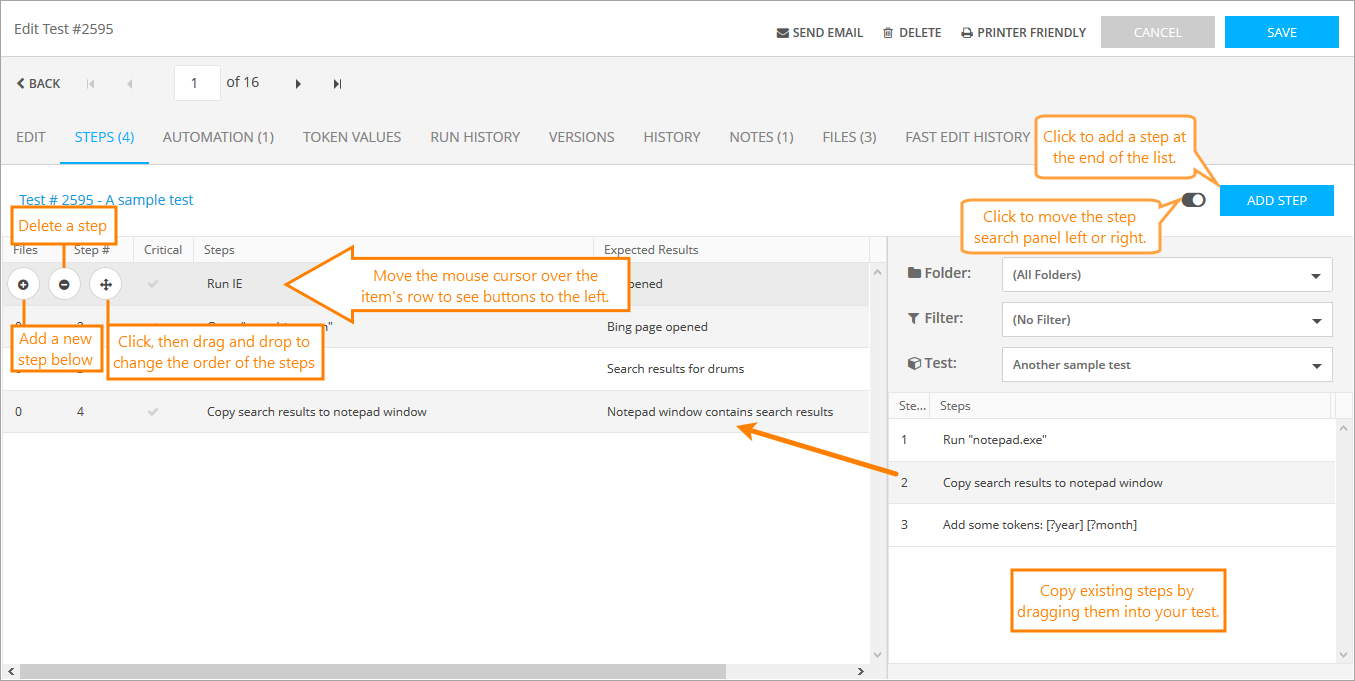
To add a step, click Add Step, so the first row of the step table will become available for editing.
To the right, there is the Test Selection panel. Use it to select an existing test and copy its steps (for example, a login routine) to your new test. With drop-down lists, you can navigate to any other available test in QAComplete.
| Note: | You can move the Test Selection between the right and left edges of the screen – to do that, click Switch Side Bar. |
In the step edit area, move the mouse cursor over the step’s row to perform the following actions:
-
Click Add Step Below to add a new step.
-
Click Delete Step to remove a step from the list.
-
Click the arrow icon and drag and drop the step to change the order of the steps.
You can also select the Critical check box to flag a step as the one that must pass for the test to pass.
| Note: | If the critical step fails, the entire test fails. |
To apply the changes and return to the Test Library, click Save.
A new test will appear on the Test Library screen.
Edit Test
To perform operations with a specific test, move the mouse cursor to it on the Test Library screen. The Edit button will appear to the left.
Click Edit to open the Edit Test form.
On this form, you can apply the changes you need: for example, edit the fields describing the test, modify test steps, attach error logs, make some comments, and so on. See below for more information.
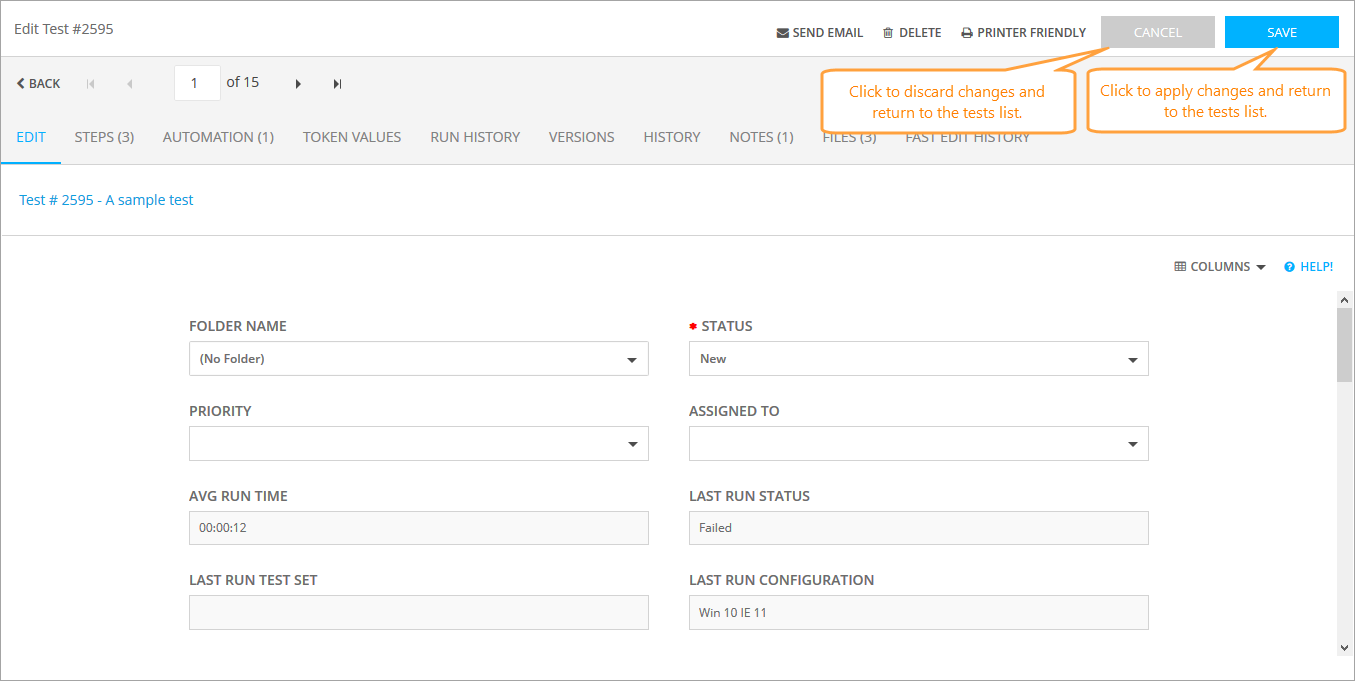
To apply the changes you have made, click Save, or click Cancel to return back to the Test Library screen.
What Else You Can Do
Link Items to Tests
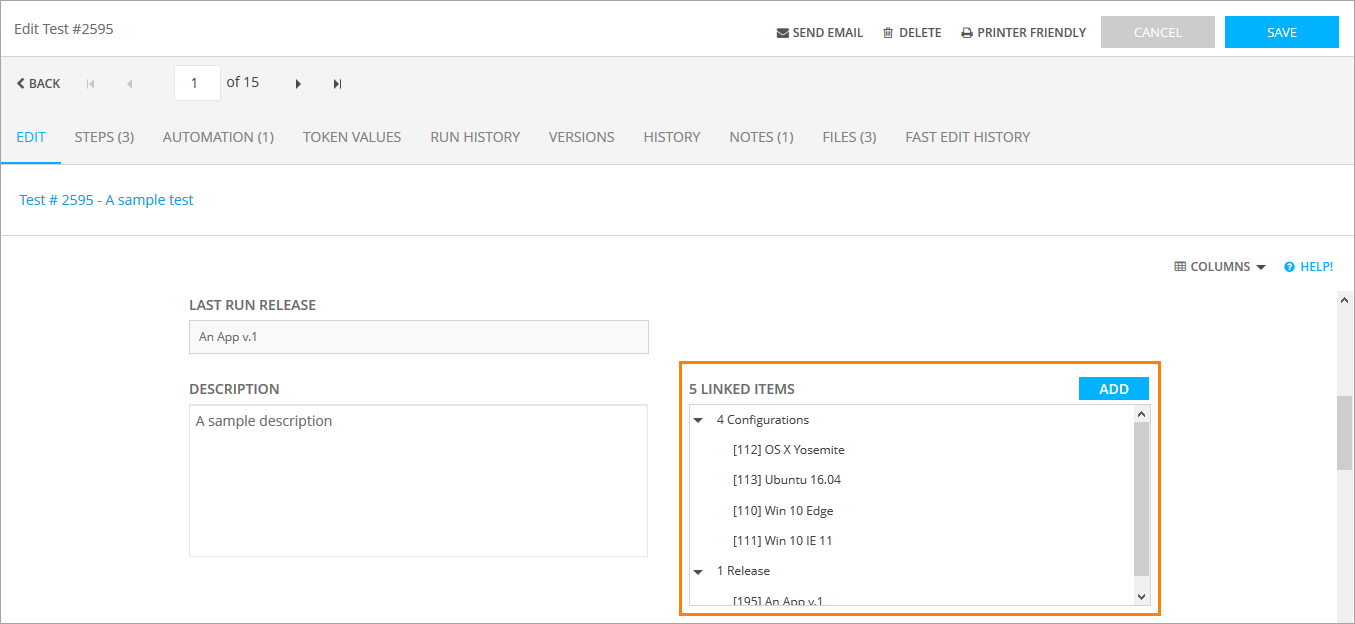
If you need to link some other items to the test (for example, requirements or releases), use the Linked Items panel on the Edit tab of the Create Test or Edit Test form. See Linked Items for more information.
Add and Edit Comments
Work With Attachments
To attach files to the test, switch to the Files tab on the Edit Test form, then drop the file to the panel. You can also click Choose File and upload a file from your device, or click Add / Link Files to open the Add New Link/Files dialog and upload the attachment from there.
On that tab, you can also download or delete the existing attachments.
View History
To view the history of changes of an existing test, switch to the History or Fast Edit History tab on the Edit Test form.
To learn more about the history of changes, see the corresponding topic.
Review Test
To view the full information about a test in an easy-to-read printable form, do one of the following:
-
On the Test Library screen, move the mouse cursor to the needed test, then click the Printer Friendly button that appears to the left.
-
Click Printer Friendly at the top of the Edit Test form.
Email Test
To email the test, do one of the following:
-
Move the mouse cursor to the needed test on the Test Library screen, then click the Email button that appears to the left.
-
Click Send Email at the top of the Edit Test form.
To learn more about the emailing functionality in QAComplete, see Emails.






If you need to add some comments on the test, switch to the Notes tab and click Add New.
Click the image to enlarge it.
On that tab, you can also edit or delete the existing comments.