To start using single sign-on with your QAComplete application, set up the identity management service:
-
Log in to your Okta organization or create a new Okta profile.
-
On your user profile home page, click Admin to enter the administrator Dashboard.
-
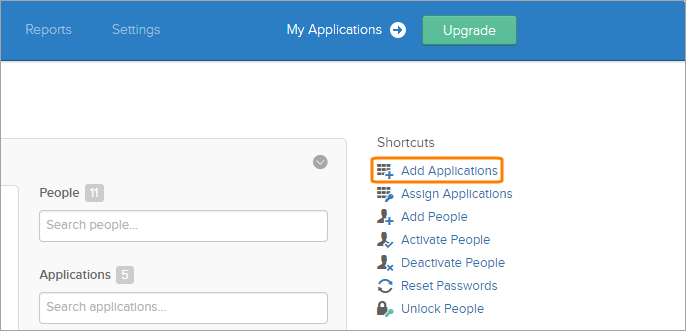
Click the Add Applications link in the Shortcuts menu.
-
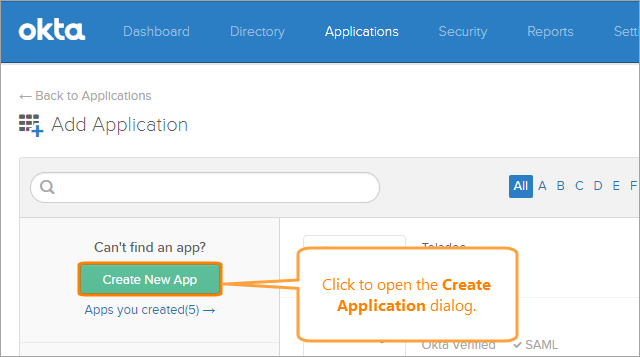
Click Create New App.
-
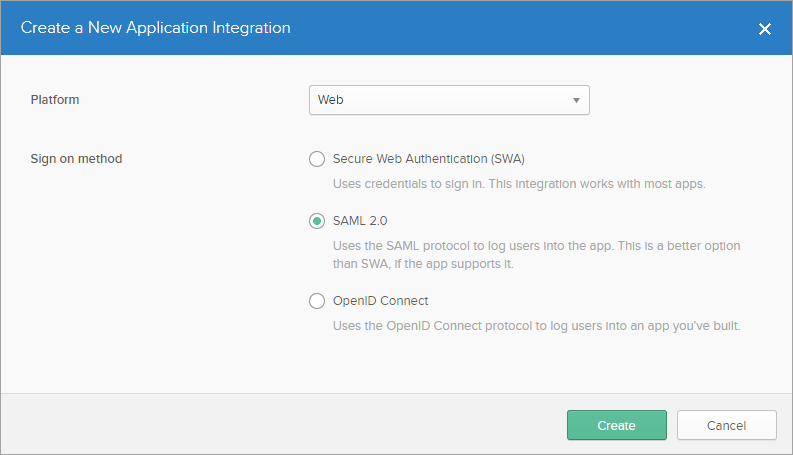
In the consequent dialog, select Web in the Platform drop-down list and SAML 2.0 as a sign on method and click Create.
-
You are now on the General Settings page. Here, you can specify the following settings:
-
The Application name allows you to find an application inside Okta.
-
Upload an image for the application logo if you like.
-
If you need to hide the application from other Okta users, select one of the Application Visibility check boxes.
-
-
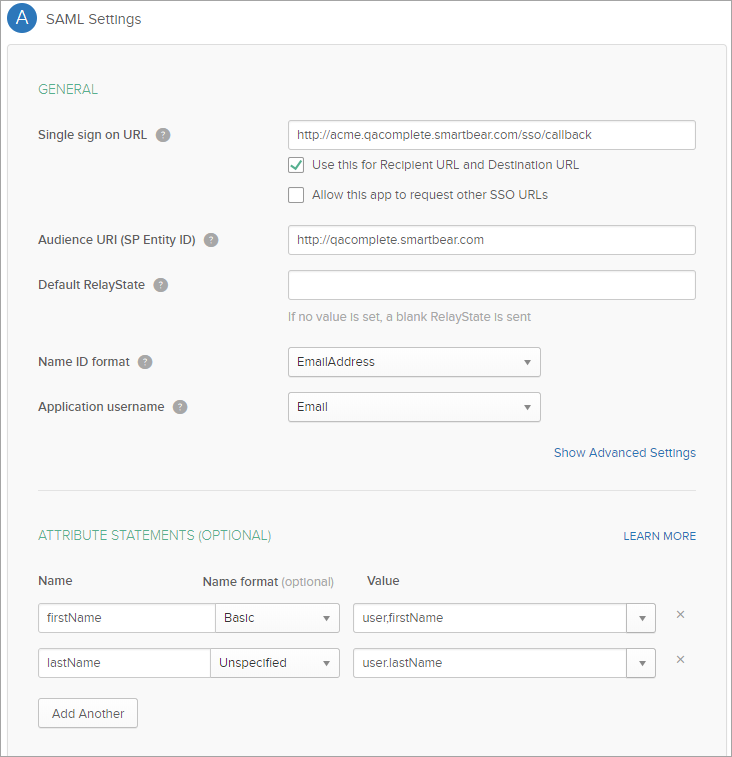
On the next page, configure SAML as follows:
Option Software as Service On-Premises Single sign on URL https://<your SaaS domain>*.qacomplete.smartbear.com/sso/callback https://[your server name]//sso/callback Audience URI (SP Entity ID) https://qacomplete.smartbear.com https://[your server name]/ Name ID format EmailAddress Application username Email *: Use the value of the Domain name field. You can find it in > Setup > Security > Single Sign-On Administration in QAComplete.
Attribute Statements Name Name format Value firstName Basic user.firstNamelastName Basic user.lastNameAfter you enter the necessary data, click Next.
-
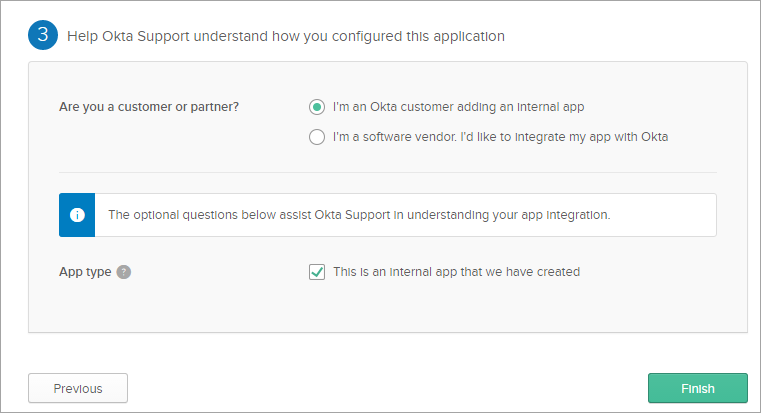
On the last page, provide the information about how you plan to use the application and click Finish.
-
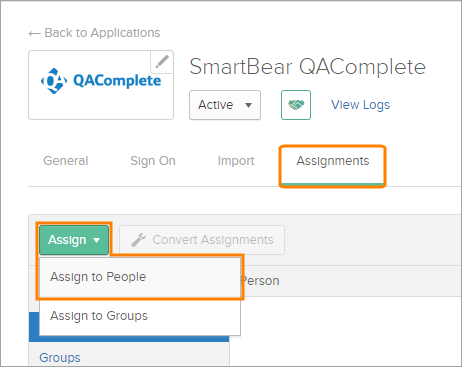
Switch to the Assignments tab, then click Assign > Assign to People.
-
Assign users to the new application, then click Done.
-
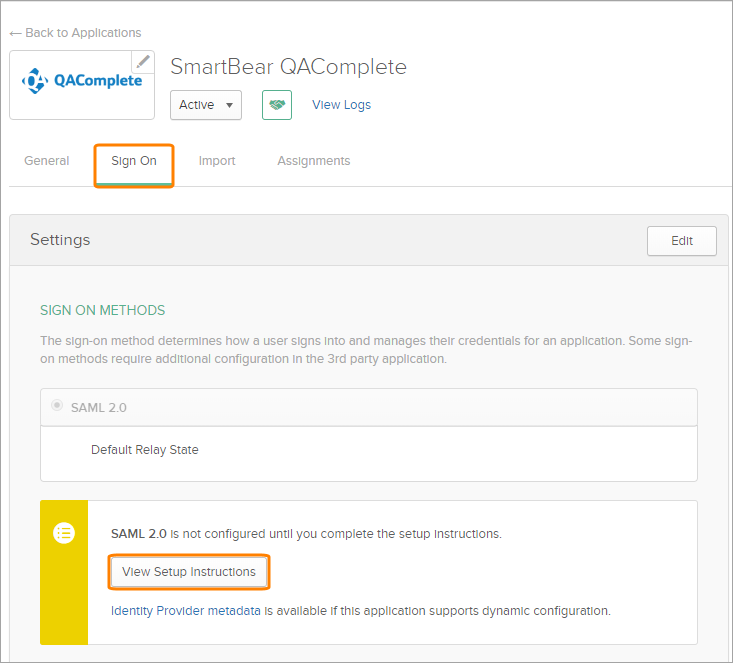
Return to the Sign On tab.
-
Click View Setup Instructions to get the necessary data for setting up QAComplete:
- Identity Provider Single Sign-On URL
- Identity Provider Issuer
- X.509 Certificate
Store these values to use them during QAComplete configuration.


