If you wish to set the position in which fields appear on the screen, you can do this in Screen Layouts. To access it, go to > Setup > System Configuration > Screen Layouts.
Choose the area that you want to customize.
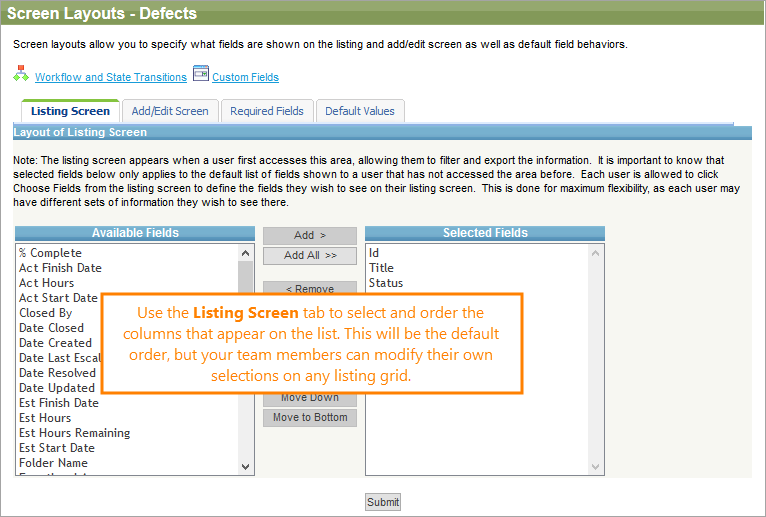
On the Listing Screen tab, select the default fields that will appear on the list of items. You can select any field, except for text fields larger than 255 characters.
All team members can modify the appearance of the listing screens for themselves. For example, once you select the default fields for the listing screen for Defects, when your team members go to the Defects tab, they can change the fields to appear in Tools > Choose Fields. These changes do not affect other users.
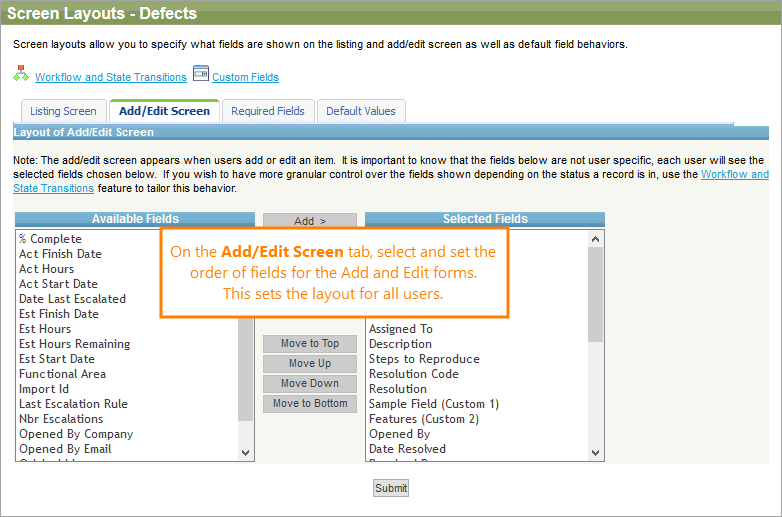
On the Add/Edit Screen tab, you modify the settings for the Add and Edit forms. The changes you make there affect all users. You can select any field including large text and custom fields, and place them in the desired order.
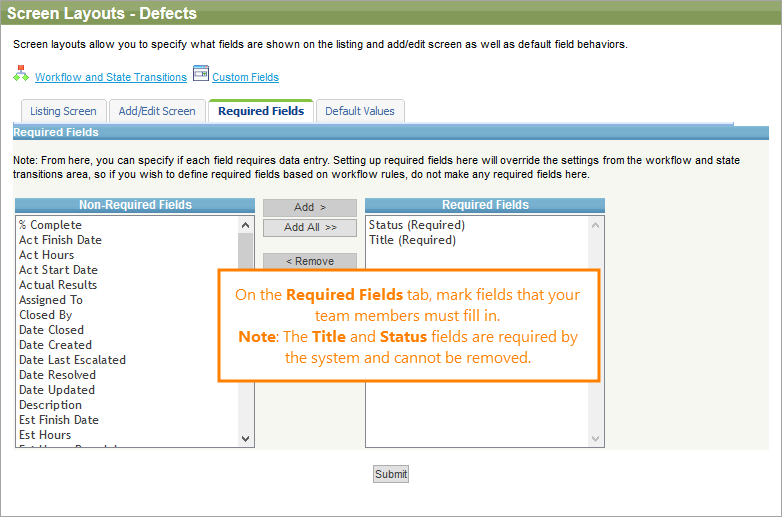
On the Required Fields tab, you configure which fields of the item should be required in workflow. To learn how to configure the field to be required only when the item has a certain status, see the Workflow and State Transitions section.
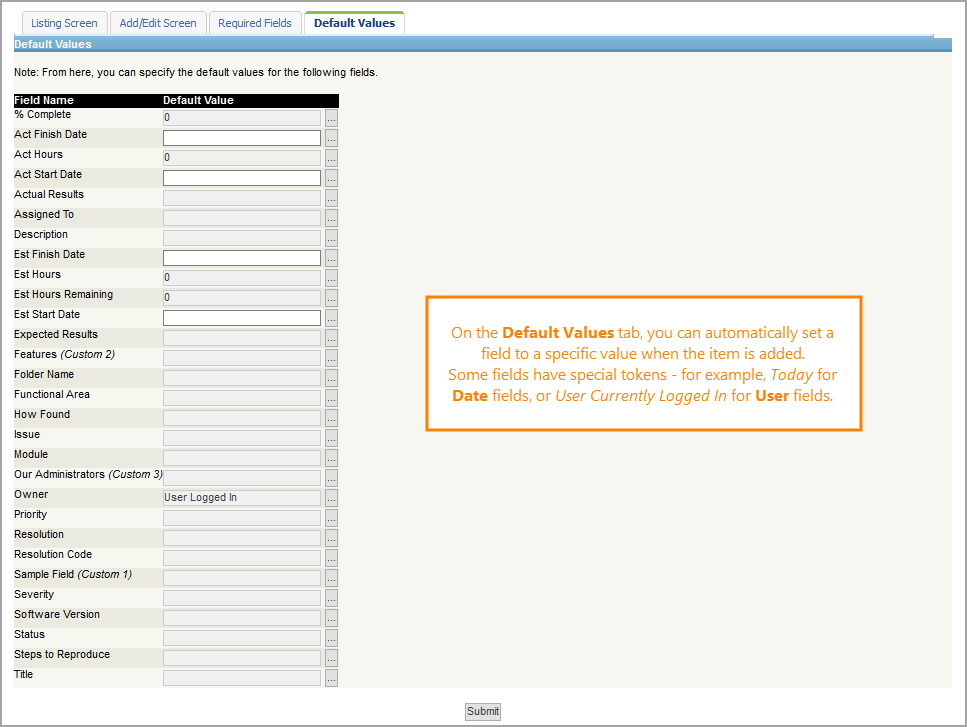
On the Default Values tab, you can command QAComplete to provide a default value for a specific field.


