For this document, we provide an example test located in our JUnit GitHub Repository.
JUnit is a Java unit testing framework that is useful for creating scalable and repeatable tests. Eclipse is a widely used Java integrated development environment (IDE) containing a comprehensive workspace for user's code development needs.
In this guide we will use JUnit with Eclipse for testing using the Selenium WebDriver and Java programming language.
Set up Eclipse
-
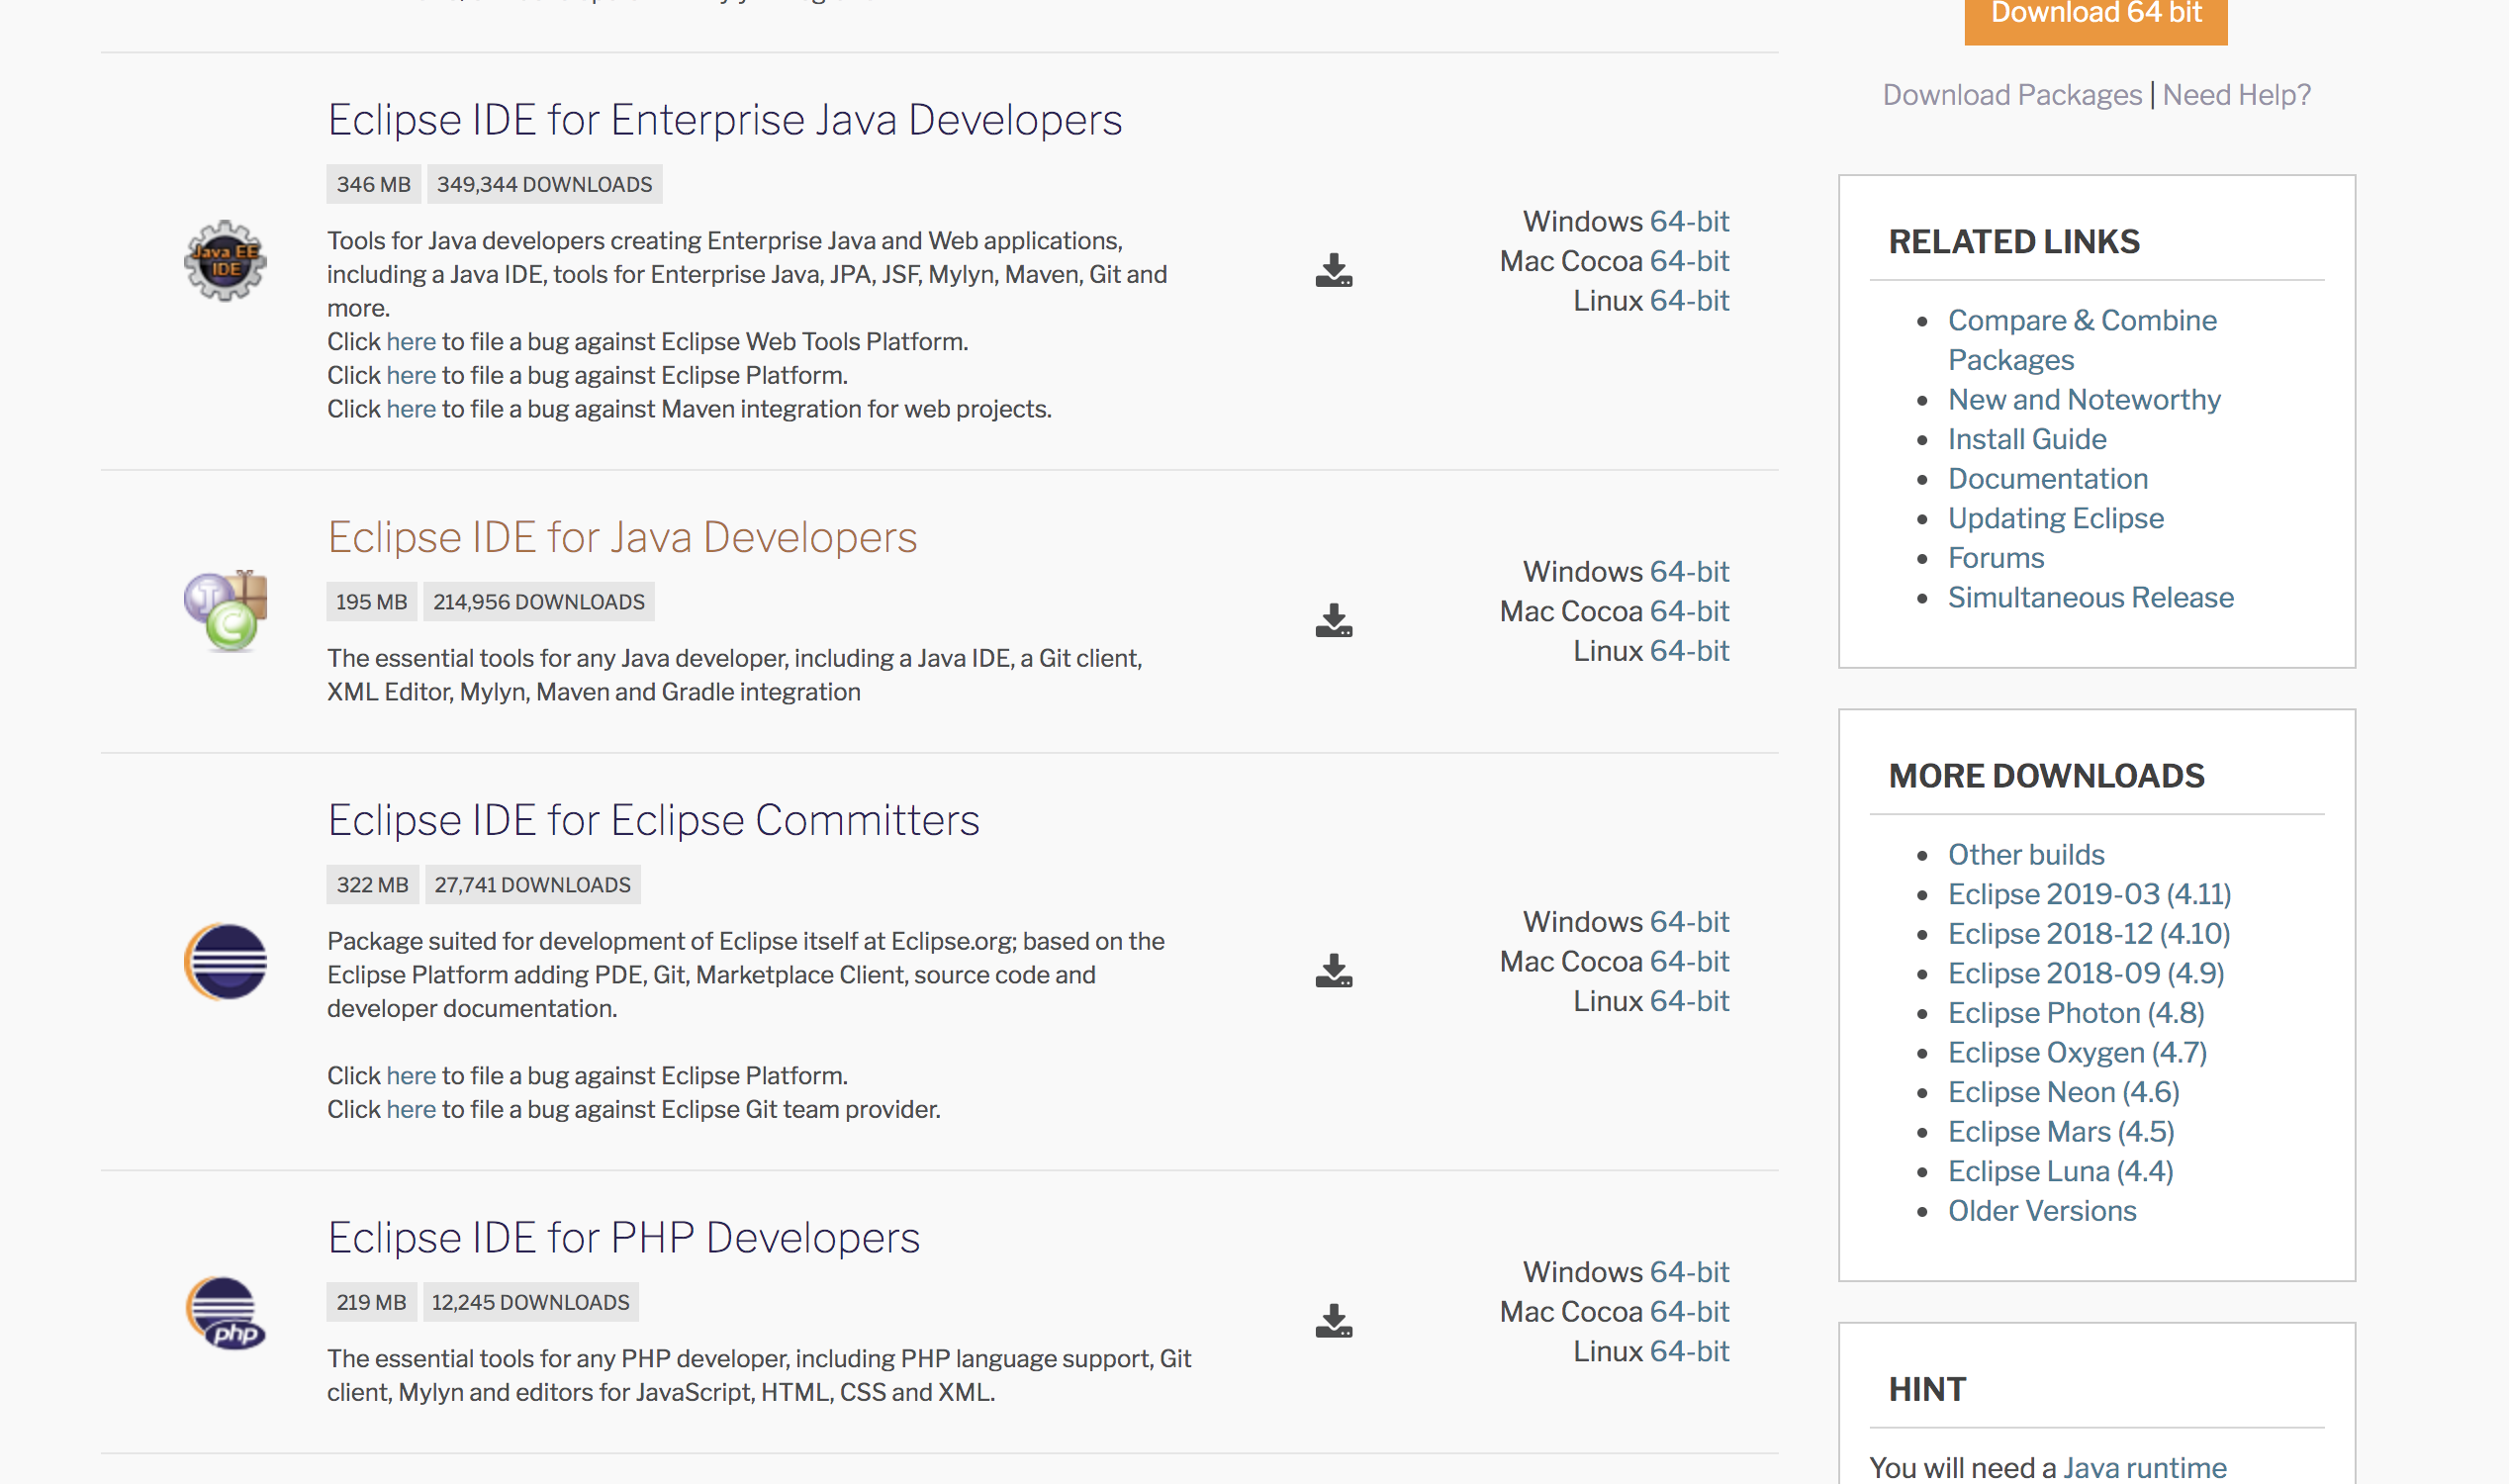
Download and install Eclipse IDE for Java Developers.
-
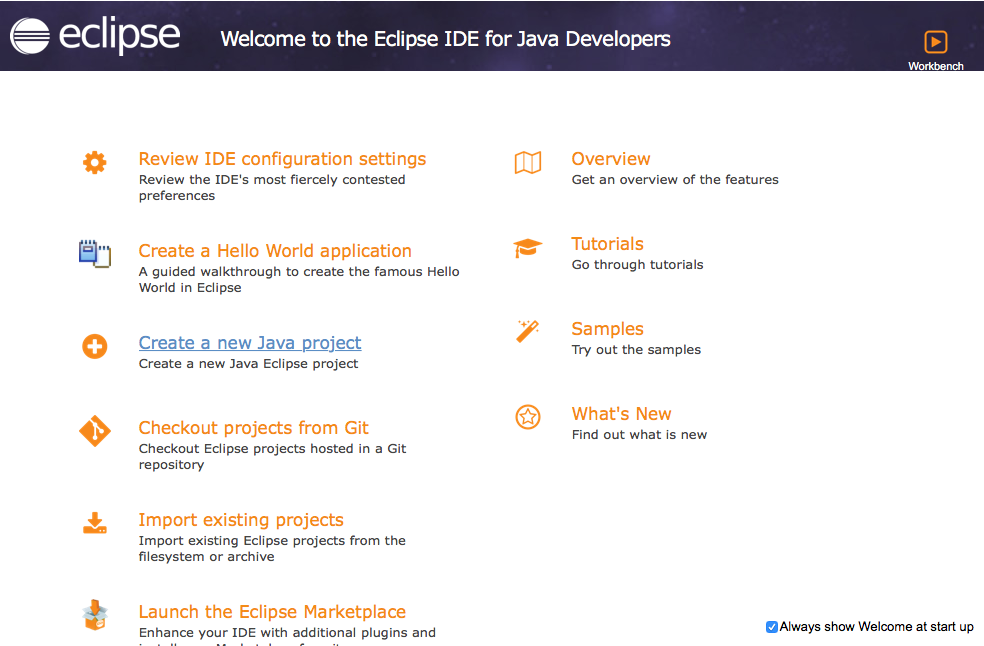
After installing is complete, launch Eclipse.
-
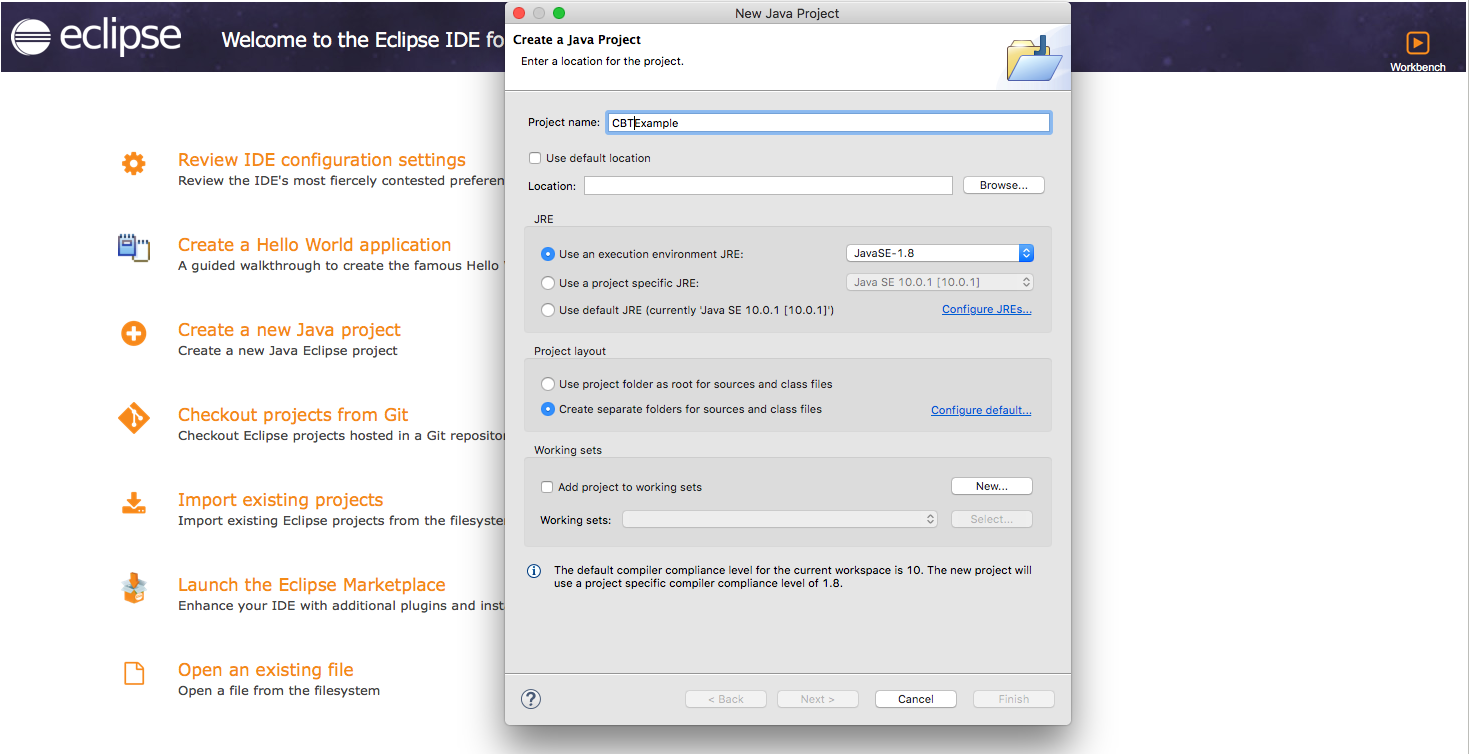
Select Create a new Java project.
Run a test
| Note: | You will need to use your Username and Authkey to run your tests on CrossBrowserTesting To get yours, sign up for a free trial or purchase a plan. |
-
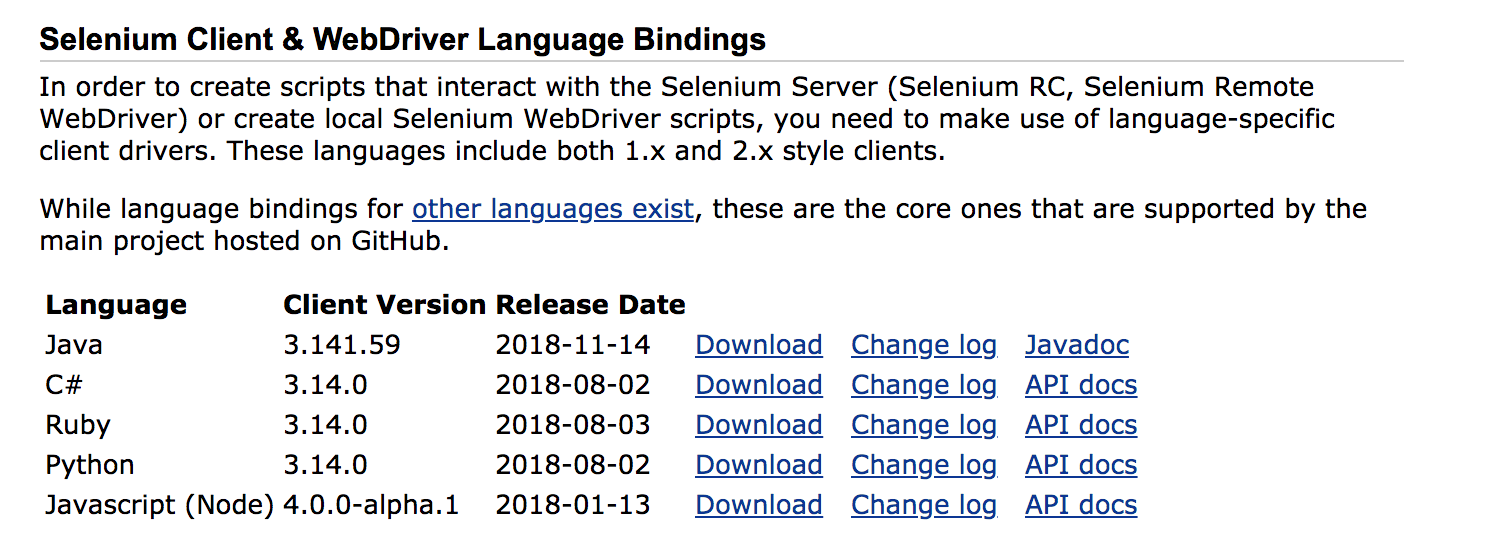
Download Selenium WebDriver for Java.
-
Add the Selenium jars to the build path of your project.
-
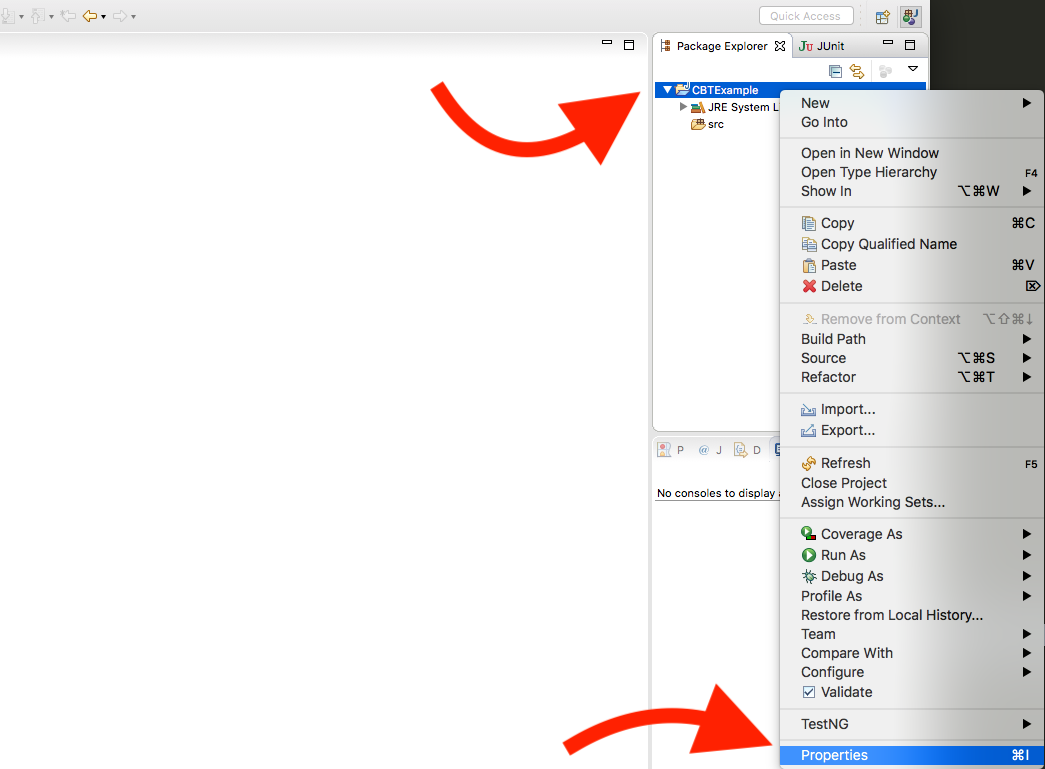
Right click your project folder and select Properties.
-
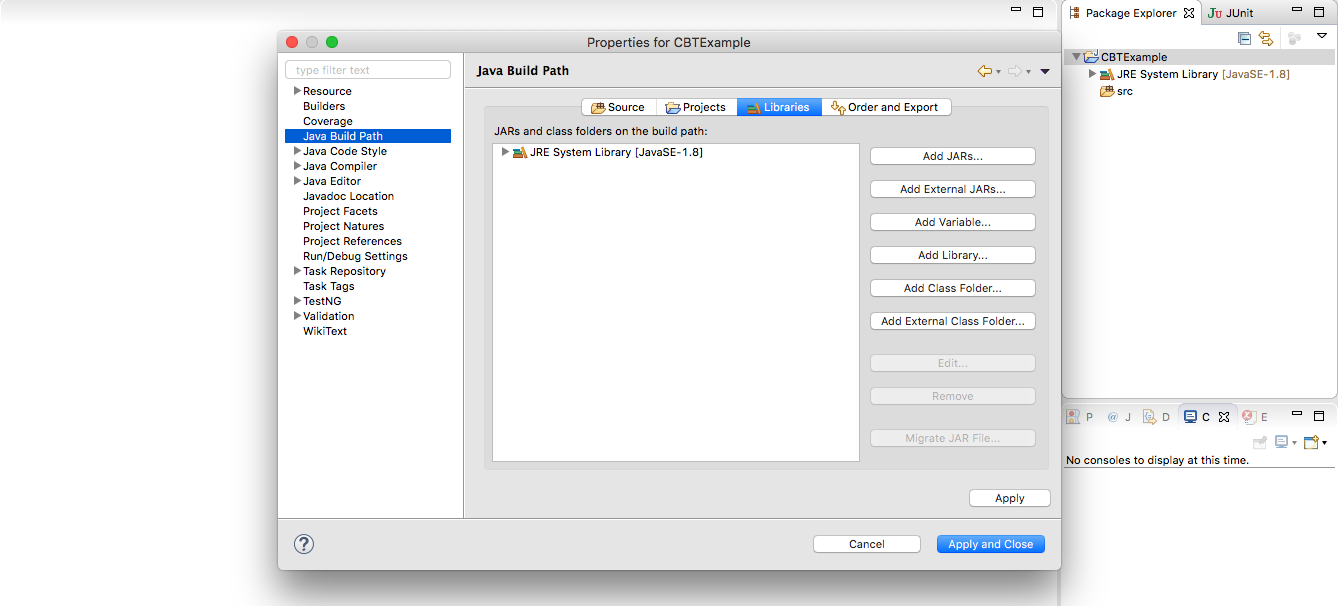
From the Java Build Path tab, select the Libraries tab.
-
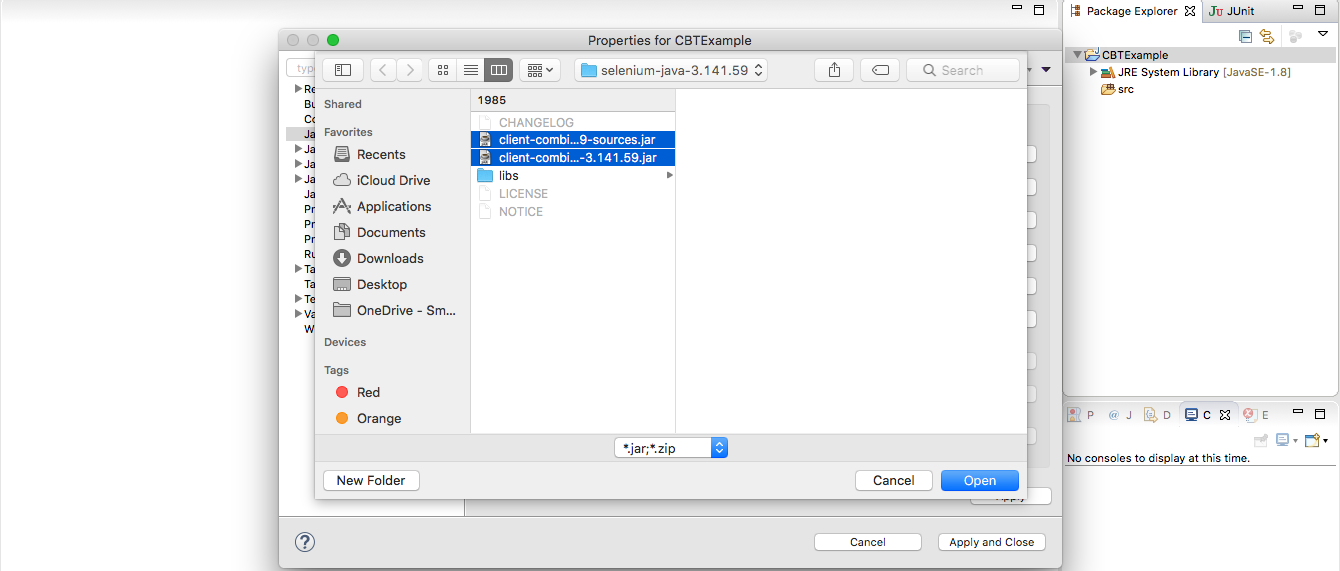
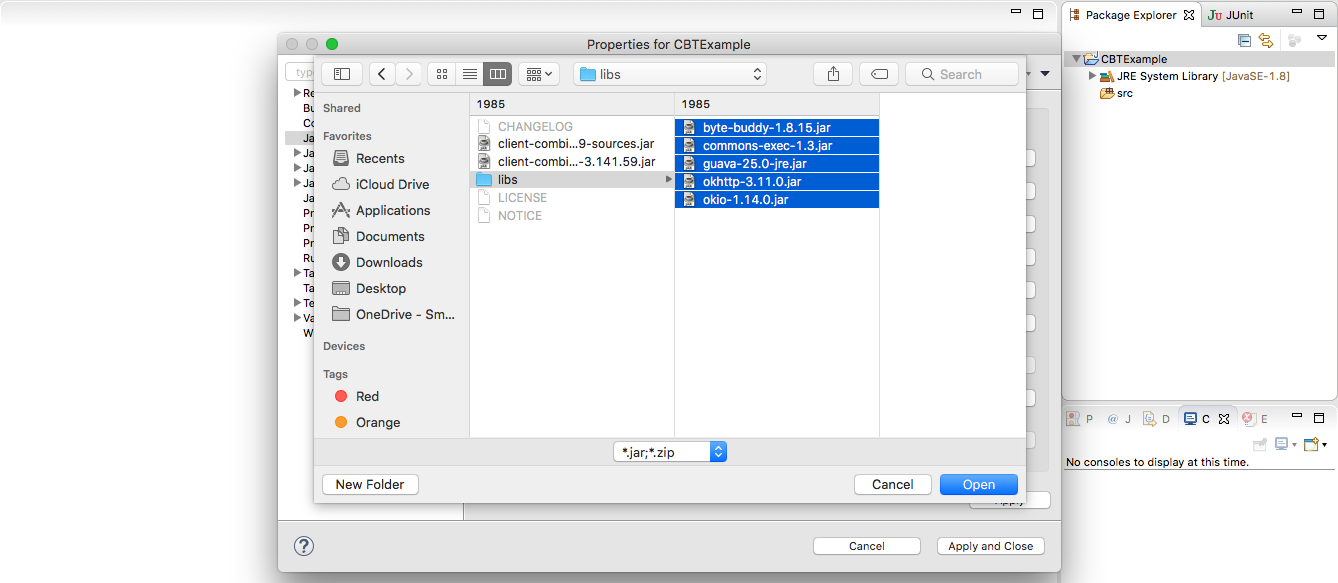
Select Add External JARs and add all jars for Selenium.
-
Apply and Close.
-
-
Create a new JUnit Test Case
-
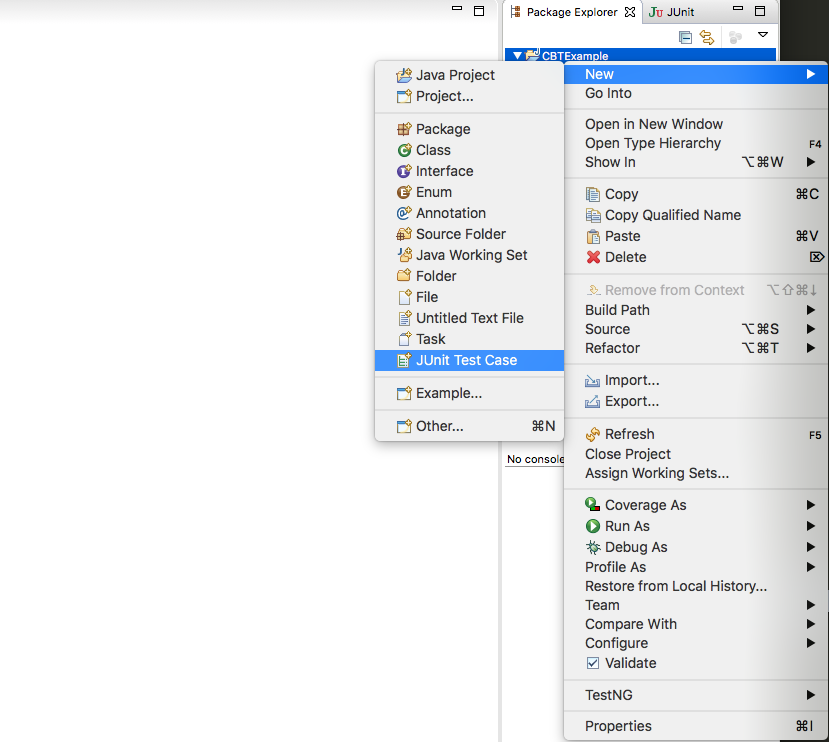
Right click your project folder.
-
Hover over New and select JUnit Test Case.
-
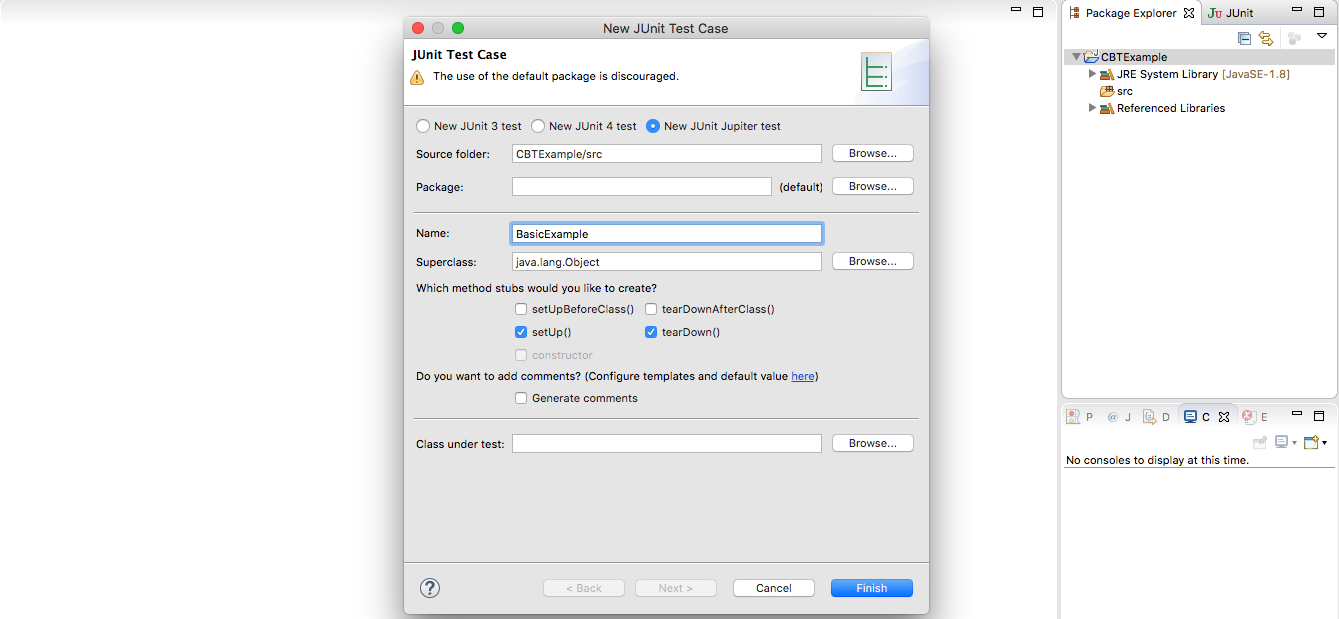
Name your test case and select Finish.
-
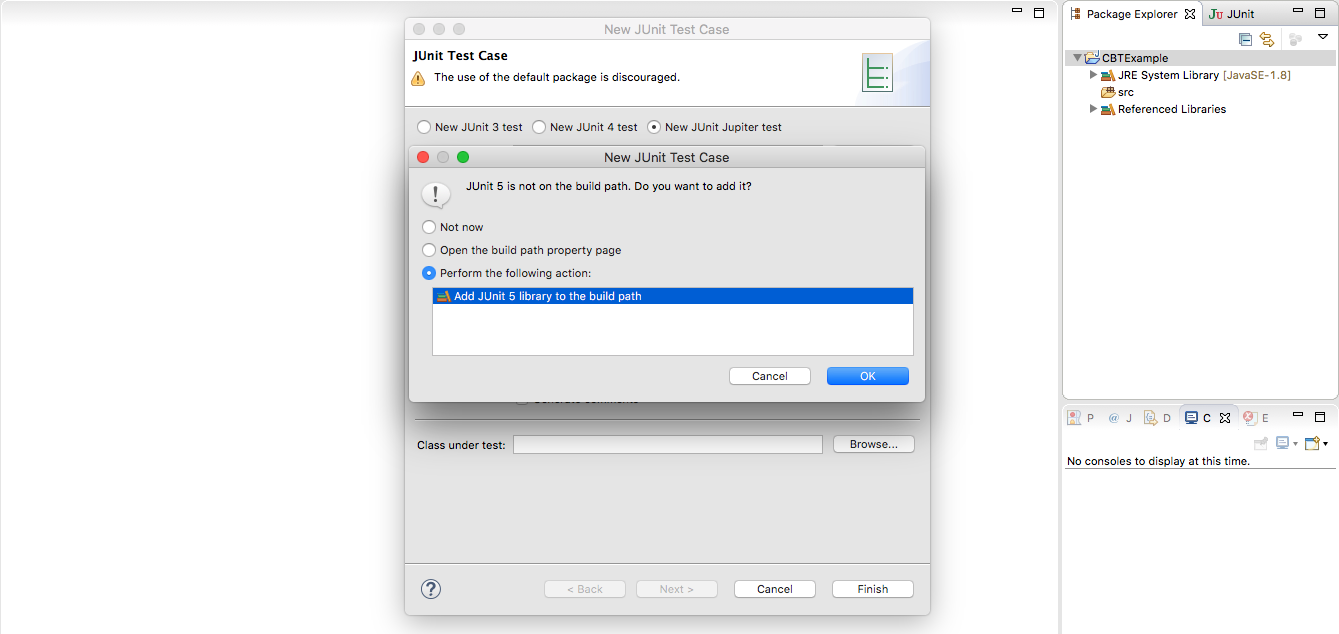
Select OK to add JUnit to the build path.
-
-
Copying the following content:
Java
import static org.junit.jupiter.api.Assertions.*;
import org.junit.jupiter.api.AfterEach;
import org.junit.jupiter.api.BeforeEach;
import org.junit.jupiter.api.Test;
import org.openqa.selenium.*;
import org.openqa.selenium.remote.*;
import java.net.URL;
import java.util.concurrent.TimeUnit;
import java.util.HashMap;
class BasicExample {
private WebDriver driver;
@BeforeEach
void setUp() throws Exception {
String username = "YOUR_USERNAME";
String authkey = "YOUR_AUTHKEY";
DesiredCapabilities capabilities = new DesiredCapabilities();
HashMap<String, String> cbtoptions = new HashMap<String, String>();
cbtoptions.put("record_video", record_video);
cbtoptions.put("screenResolution", 1366x768);
capabilities.setCapability("browserName", "Chrome");
capabilities.setCapability("platformName", "Windows 10");
capabilities.setCapability("name", "Junit Example");
capabilities.setCapability("browserVersion", "84");
capabilities.setCapability("cbt:options", cbtoptions);
String hubAddress = String.format("http://%s:%[email protected]:80/wd/hub", username, authkey);
URL url = new URL(hubAddress);
driver = new RemoteWebDriver(url, capabilities);
driver.manage().timeouts().implicitlyWait(30, TimeUnit.SECONDS);
}
@AfterEach
void tearDown() throws Exception {
driver.quit();
}
@Test
void test() {
driver.get("http://crossbrowsertesting.github.io/selenium_example_page.html");
assertEquals("Selenium Test Example Page", driver.getTitle());
}
} -
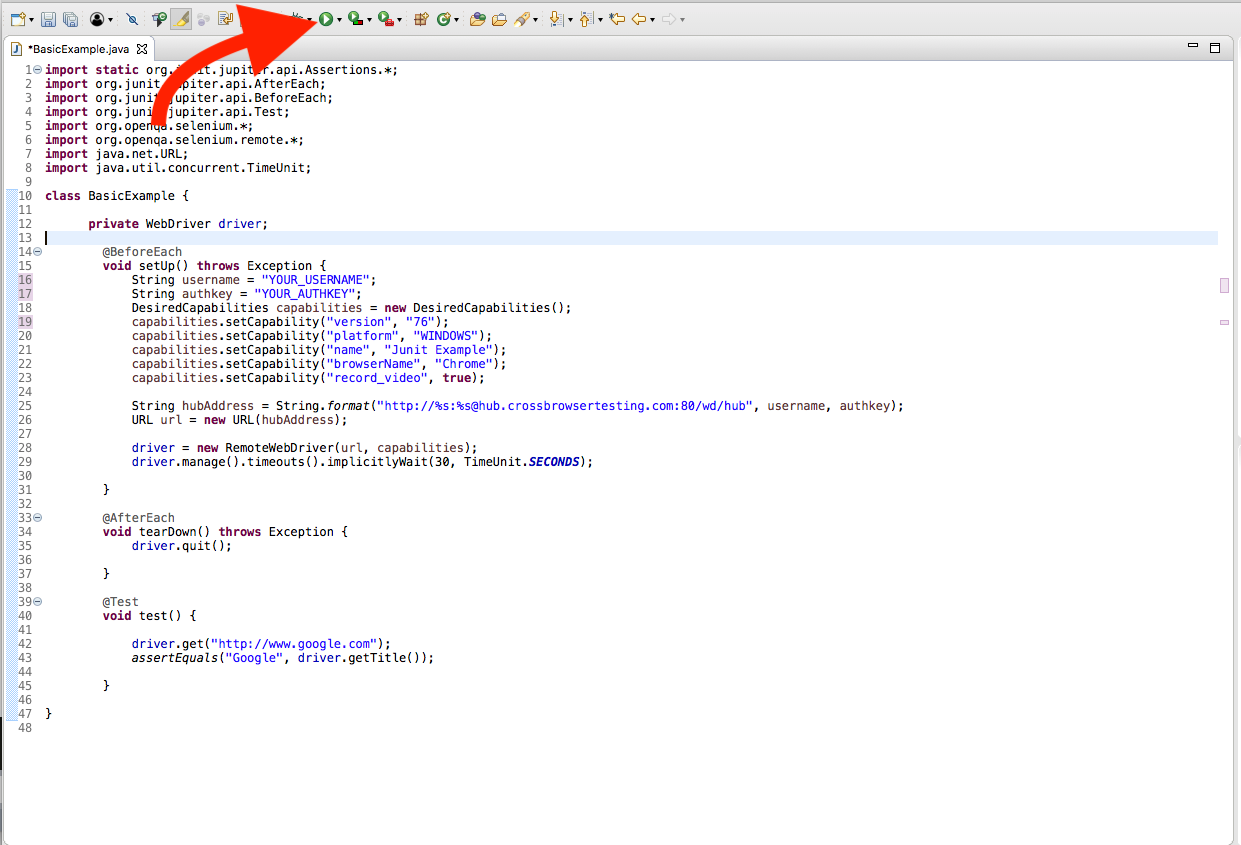
Run your test by selecting the Run button.
Congratulations! You have successfully integrated CrossBrowserTesting and JUnit using Eclipse. Now you are ready to see your build start to run in the CrossBrowserTesting app.
Conclusions
By following the steps outlined in this guide, you are now able to seamlessly integrate JUnit and CrossBrowserTesting. If you have any questions or concerns, please feel free to reach out to our Support team.

